Shoot your Videos using Smartphone or DSLR and create Awesome Film Look by Using Simple Colour Corrections and Tricks
If you are creating short video, you can improve the look of the video with some tweaks and colour corrections techniques using Adobe After Effects or Adobe Premier Pro.
You can achieve a Hollywood Film look for videos taken using either from your smartphone or your DSLR. It is better to use DSLR camera to take videos than a Smartphone camera. If you have both DSLR and high end camera use DSLR instead of Smartphone to take videos.
I have created a Video using my Smartphone Moto Z Play and edited it using After Effects CC. The video can be seen here
The comparison between the original video and edited video can be seen from below sample image.
Since this video was taken with Smartphone in Full HD resolution it may not look professional as a video taken using DSLR.
Following are the steps I have done to create a Film look for my videos.
- Shot videos using my Smartphone. While doing so the maximum length of each footage is limited to 10 seconds. Because people will be bored if the same thing is shown for a long time.
- Selected the best among the videos without much shake
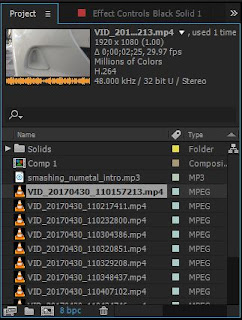
- Imported the videos to the After Effects Project file
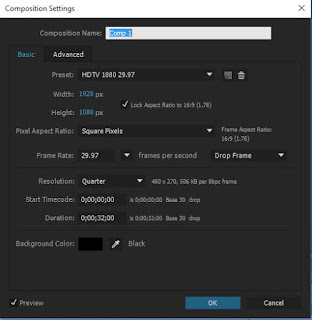
- Created a composition with 30 second length in Full HD Resolution and 25/29.97 fps
- Imported video files to the composition and arranged the files
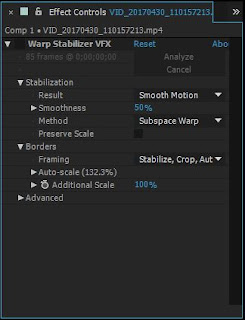
- Each clip is stabilized using Warp Stabilizer effects
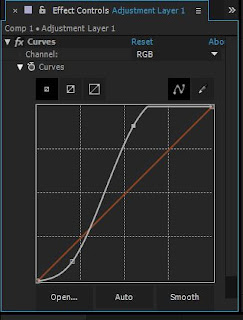
- Created an Adjustment layer above all clips for the colour correction. RGB Curve effect is applied to the adjustment layer. (Adjustment layer is used here because All of my clips have the same car parts and lighting conditions. Instead of giving colour corrections to to each clips we can use adjustment layers so that all files under the adjustment layer will get the same colour corrections)
By applying an S Curve for the RGB curve you will get the required film look. What this do is it will brighten the bright parts and darken the dark parts - Now used a Crop lines for the composition in which a black strip will be shown above and below the video as seen in all films
- You can also use Hue/Saturation effects in the adjustment layer to do further colour correction as required. It is all up to you.


COMMENTS